
Pros And Cons Of Printed Patches
August 5, 2024
Creative Ways to Wear Iron-On Patches
August 5, 2024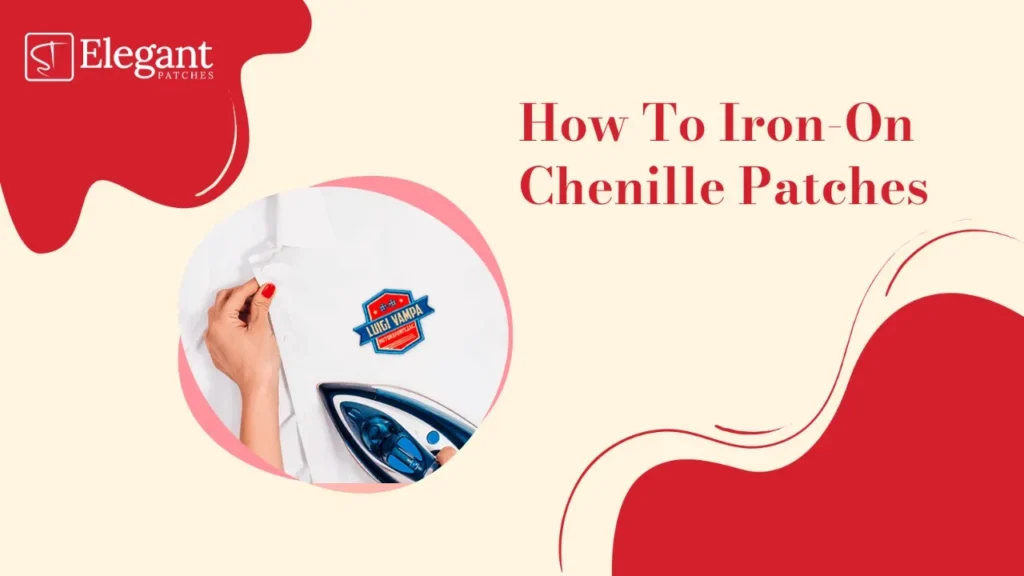
How To Iron-On Chenille Patches
Regardless of their popular and unpopular times, patches have always been a prominent and pre-eminent part of fashion history. And as such, it has become a unique aspect of some of the oldest traditions, like the valued history of varsity jackets. This is probably why they have never really gone out of fashion or style.
With such a respected and esteemed heritage of being part of the letterman jackets or varsity jackets, these patches are consistently proving to be a promising aspect of every generation’s vouge.
Seldom have patches left the fashion’s keen and diverse settings, but when they have, they have always come back with resounding success and a promising future. And thus, the various varieties of sub-categories patches have established a strong base in the fashion industry.
And striving to provide the consumers with quality, elegance, and class, we at Elegant Patches are working tirelessly to achieve customer satisfaction. Our advanced technology and experienced artists work with the best fabric and base materials, making your patches durable.
Amid the numerous types of patches, what has probably been the leading choice for jackets, in respect to the history of varsity jackets, is none other than chenille patches. Not only do they grace the varsity and different types of jackets right now, but they also have quite a consumer base who love to put it on denim and accessories.
The best part about these patches, including chenille patches, is that they are relatively easy to use. You do not need the skills of a professional to attach it to your clothes or bags. This is because patches come with a variety of backing options. All you need to do is order your desired design and the kind of backing you would like it with.
The most common kind of patch ordered globally is the iron-on chenille patch. This is because iron-on chenille patches are the easiest to apply among the rest. Below is a step-by-step guide on how to attach iron-on chenille patches to any surface. But before that, let us first understand what chenille patches are and the various backing option available to you.
What are Chenille Patches?
Traditionally given to athletes or awarded to students for their accomplishments, chenille patches have made somewhat of a strong comeback in the fashion world. The word chenille itself comes from the French word for the caterpillar. The reason for its name is because of the final surface finish, which compares to the fuzz on the caterpillar.
These patches come from pacing two core yards together and then twisting them around each other.
These chenille patches are then backed with a stiffened felt. This helps in 4 different ways:
- Keeps the patch intact.
- Makes it easier to attach the patch to any surface.
- It creates a comfortable base and texture.
- Its flexible.
The making of chenille patches is as uncomplicated as the outcome is beautiful. And with the help of the latest tech in the market and the best quality yarn, Elegant Patches is ready to deliver your imagination to you at your behest.
Different Kinds of Backings
When you are looking for some raised eye-brows with your custom embroidered name patch, the best way to achieve it is by selecting contrasting colors. For instance, black and white is the most perfectly contrasting color scheme that works brilliantly for most patches. It’s also one of the most popular color combos for getting elegant, yet stunning name patches.
However, your options aren’t limited to black and white. You can go with some bold contrasts as well, like blue & red or pink & neon green or others. The options are virtually endless and it all depends on your creativity and imagination. You can also review some contrasting color schemes to choose the best one.
How to Iron-On Chenille Patches?
The general process of ironing on any patch consists of placing the patch on the surface of choice and pressing a hot iron on top to heat seal the glue into the fabric. However, since chenille patches have somewhat of a delicate texture, if iron is placed directly on the chenille patch, it is very likely that the yarn might burn.
Follow the steps mentioned below to apply your chenille patch safely onto any garment.
- Ensure that you have access to an iron and a clean towel or a pillowcase.
- Make sure that the surface you are applying the iron-on chenille patch is clean and wrinkle-free.
- Set the temperature of the iron in accordance with the type of material you are affixing your patch on.
- Warm up the area you want to attach your patch by placing the hot iron on it for about 10-15 seconds.
- Place your chenille patch on the site and cover it with a towel or pillowcase.
- Place the iron a top the patch for about 6-10 seconds and then move it around slowly in a circular motion.
- Repeat this process on the other side of the patch by turning the garment inside out and applying heat on the back of the chenille patch.
Iron-on patches are some of the easiest ways to use any patch. And maybe it is because of this that the majority of the consumer base prefers iron-on backing as their prime choice.
The Bottom Line
Patches have unquestionably come a long way, emerging from the great history of varsity jackets to being part of entire cultures and identities. And depending upon the quality of your patch, it is likely that they will last you a pretty long while.
Especially when you shop at Elegant Patches for your custom chenille patches orders. With our teams of artists engaging in countless new tactics and ensuring the use of innovative techniques, your patches and designs will come out as unique as you would like them to be. Order at Elegant Patches, and let us turn your imagination into reality.