How to Make Your Own Patch ? Patches have a special way of telling stories—whether they’re representing a club, a memory, a brand, or just your personal style. You might be surprised to know that making your own patch is not only possible but also incredibly fun. And while crafting your own patches is a rewarding experience, sometimes outsourcing the job to a professional service like Elegant Patches can save you time, ensure perfect results, and bring your design to life with expert craftsmanship.
In this guide, we’ll walk you through everything you need to make your own patch from scratch, while also showing you how you can turn to Elegant Patches for a polished, ready-to-use finish.
Tools You’ll Need to Make Your Own Patch
To make your own patches at home, you’ll need a few basic craft supplies. Depending on whether you’re printing, embroidering, or using a sewing machine, here’s what you should gather:
-
Scissors
-
Stiff fabric (cotton, twill, or felt works well)
-
Peel-and-stick fabric fuse (for iron-on backing)
-
Inkjet printer and transfer sheets
-
Phone or digital camera
-
Photo editing software
-
Iron
-
Fabric pencil
-
Embroidery floss, needle, and hoop (for hand embroidery)
-
Sewing machine (for machine stitching)
Step-by-Step: Making Your Patch
1. Choose the Right Design
Your design is everything—it’s the soul of your patch.
-
Keep it simple; avoid overly intricate details.
-
Use strong lines and high-contrast colors so it stands out.
-
Stick to a maximum size of around 5 inches.
2. Printing an Inkjet Transfer Patch
If you want crisp, printed designs:
-
Take a clear photo of your design.
-
Edit and resize it on your computer.
-
Print it on inkjet transfer paper.
-
Place it face down on your fabric.
-
Iron according to the transfer paper’s instructions.
-
Peel, let it dry, and cut it out neatly.
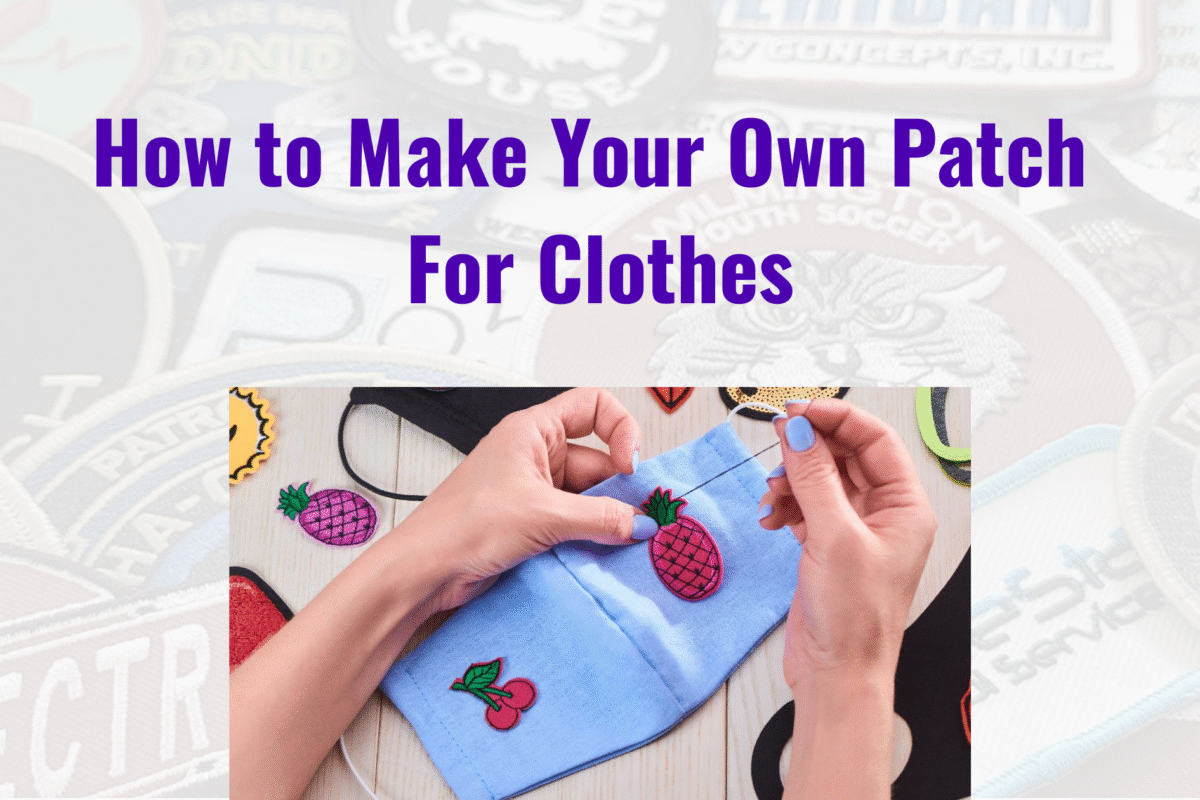
3. Hand-Embroidered Patch
For a handmade, textured feel:
-
Draw your design on paper and tape it to the back of your fabric.
-
Place the fabric in an embroidery hoop.
-
Trace the design using a fabric pencil.
-
Stitch with embroidery floss, filling in each section carefully.
-
Tie off loose ends, trim, and cut out your patch.
4. Using a Sewing Machine
If speed and neatness matter:
-
Trace your design onto fabric.
-
Set your sewing machine to a thick zigzag stitch.
-
Stitch over your design slowly, changing thread colors as needed.
-
Reverse stitch to secure ends.
-
Trim and shape your patch.
5. Adding the Iron-On Backing
-
Get peel-and-stick fabric fuse from your local craft store.
-
Place your patch right side up on the sticky side of the fuse.
-
Press down from the center outward.
-
Cut it out and iron it onto your clothing or accessories.
Need Help In Patch Making Contact, Elegant Patches
Making a patch at home is exciting, but when you need professional quality, bulk orders, or unique shapes and finishes, Elegant Patches is here to help.
With Elegant Patches, you can:
-
Send your design (avoiding trademarked images).
-
Get a free quote before production.
-
Receive a real physical sample—not just a mockup.
-
Enjoy premium materials that last.
-
Order any shape, size, or quantity with quick turnaround.
Instead of spending hours cutting, sewing, and fusing at home, you can let the professionals handle every step while you focus on wearing or selling your patches.
Final Thoughts
Whether you create it yourself with fabric, thread, and an iron, or let Elegant Patches do the magic for you, patches are more than just fabric—they’re personal expressions. They tell the world something about you, and when made well, they can last a lifetime.